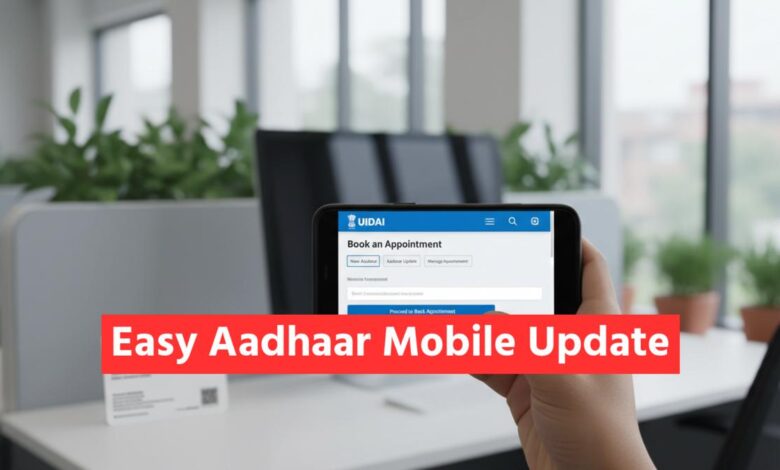
Aadhaar Card Alert: Don’t Get Locked Out of Services! Update Your Mobile Number Online for Just ₹50 – Here’s How!

Aadhaar Mobile Update: In today’s digital age, the Aadhaar card has become the cornerstone of identity verification in India, essential for accessing a wide array of both government and non-government services. From opening a bank account to availing subsidies, its importance cannot be overstated. A critical component of the Aadhaar ecosystem is the mobile number linked to it, which acts as a key for secure authentication via One-Time Passwords (OTPs).
Why Updating Your Mobile Number is Crucial
Your registered mobile number is your direct line to verifying your identity for numerous essential services. This includes crucial activities like banking transactions, filing for PF (Provident Fund) claims, receiving pension updates, applying for government schemes, and even getting a new SIM card. If you have changed your mobile number or your old one is no longer in use, you might face significant hurdles. Without a valid, linked mobile number, you cannot receive OTPs, effectively locking you out of these vital services. Therefore, ensuring your current mobile number is linked to your Aadhaar is not just a recommendation—it’s a necessity.
A Step-by-Step Guide to Update Your Mobile Number
Updating your mobile number in the Aadhaar database is a straightforward process that must be completed by visiting an Aadhaar Seva Kendra. However, you can significantly streamline the process by booking an appointment online beforehand.
Part 1: Booking Your Appointment Online
- Visit the Official Portal: Navigate to the UIDAI’s official appointment website: https://appointments.uidai.gov.in.
- Book an Appointment: On the homepage, select the “Book Appointment” option.
- Choose Your Location: Select your city or location from the provided list to find the nearest Aadhaar Seva Kendra.
- Select the Service: Proceed to the service selection page. Choose the option for “Aadhaar Update/Correction” and specifically select “Mobile Number Update”.
- Schedule Your Visit: Pick a convenient date and time slot for your visit to the centre. This will save you from waiting in long queues.
Part 2: Visiting the Aadhaar Seva Kendra
- Arrive on Time: Visit your selected Aadhaar Seva Kendra on the scheduled date and time.
- Fill the Form: You will be given a simple form to fill out. Enter your Aadhaar number and your new mobile number that you wish to link.
- Biometric Verification: The official at the centre will verify your identity by capturing your biometrics, such as your fingerprints or iris scan. This is a mandatory security step.
- Submit and Pay: Once verification is complete, you will submit the form and pay the required fee.
Key Details: Documents, Fees, and Timeline
To make the process as smooth as possible, it’s important to know the requirements beforehand. Here is a quick summary:
| Requirement | Details |
|---|---|
| Required Documents | Only a photocopy of your Aadhaar card is needed. No other documents are required for a mobile number update. |
| Service Fee | A nominal fee of ₹50 (inclusive of all taxes) has to be paid at the centre. |
| Update Time | The mobile number is typically updated in the UIDAI system within 5 to 10 days. You will not receive an SMS upon update, but you can verify it on the UIDAI website. |
By following these simple steps, you can ensure that your Aadhaar card is linked to your current mobile number, guaranteeing uninterrupted access to essential services.

